“There’s this misinterpretation that my life is perfect,” says Sally J. Shim, whose crafts blog, Shim & Sons, has garnered quite a following since she launched it six years ago after the birth of her second son. With an array of craft projects and scenes from the designer’s family life, Shim & Sons presents Shim’s life so beautifully that while it may not be perfect, it at least appears adorned with a colorful paper garland.
Shim has always been good with her hands, having grown up with Korean parents who enjoyed carpentry and sewing, but her own crafting boom coincided with becoming a parent and moving to Portland, OR, eight years ago. “Crafting has always been cathartic for me,” she says. On her visits to the Uwajimaya Shopping Center in Beaverton, she browsed the Japanese sewing books, which influenced her own minimalistic aesthetic. It’s hard not to be influenced by Japanese designs,” she says. “I like the simplicity. It was just very different from the things I had seen on Martha Stewart.”
Shim’s projects are particularly appealing for their approachability and spare aesthetic. Her style is pared down — basic shapes coming together to create stripes, polka dots or gingham and a deft sense of color, whether monochromatic or a spectrum. Her most popular posts are for holiday decorations.

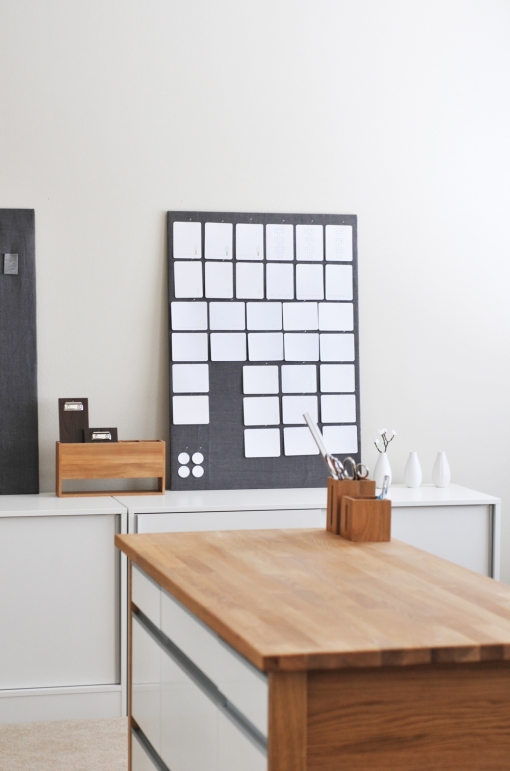
Her modern advent calendar — 24 small kraft paper jewelry boxes pinned onto a large linen pinboard — is a perfect example of her style: a simple yet inventive use of everyday items with an element of sweetness. The numbered boxes are either filled with small items like animal erasers for her sons or a note with the day’s family holiday activity.
Shim was among the first craft bloggers on the scene and as it happens, a number of the others were also moms in Portland. “It was a tight community,” she says, one that prompted her to expand her vision and start her own business selling handmade household and stationery goods like gift packaging and personalized prints on Etsy, an online marketplace powered by independent craft makers.
After five years, she’s taking a break from the online shop to focus on new projects: “It’s not easy being a one-woman show,” she says. In March, Shim launched her second site sallyjshim.com, a design and lifestyle blog evocative of Gwyneth Paltrow’s tastemaking newsletter Goop (sans the health stuff).
Perhaps because it represents Shim’s more grownup space, it is far slicker than Shim & Sons. The photos are bigger and more professional looking, and while this may be an eponymous blog, her sons still figure prominently: Her style posts feature J and j, who are now 8 and 6, in well-matched outfits (a mix of Target, Zara and H&M) that put grown men to shame. Sallyjshim.com is also a good resource for places to eat around Portland and things to buy, like a lemonade drink bucket.
2011 also saw the launch of Shim’s third blog, Shimtokk that features packaging projects and tutorials along with updates on joint workshops with a collaborator on the blog, Joke Vande Gaer of the letterpress studio Tokketok, a Portland-based Belgian designer.
Six years and three blogs later, Shim is still a little surprised with the bustling nature of her life on the Internet. “You know, seven years ago if you had said that I would start a blog and write about my life, I would’ve said you were crazy,” she says, adding that she is actually a very private person.
As for the perception that her life is perfect? “I tell people this is an edited version of my life,” Shim says. “I’m a positive, upbeat person and I personally don’t want to read a blog that’s about the negative stuff, so (blogging) is an escape. It’s a reminder to focus on the positive stuff.”
How to Make Handmade Greeting Cards
By Sally J. Shim
Materials
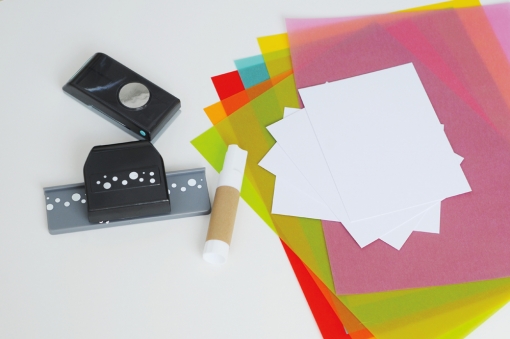
One 8.5” x 11" piece of white card stock
Vellum paper in assorted colors (available at shimandsons.bigcartel.com)
Various circle paper punches
Glue stick
Paper cutter or precision cutting blade
Instructions
1. Cut the card stock down to 4.25” x 5.5" (one 8.5” x 11" piece of card stock will make four A2 cards).
2. Using vellum paper in assorted colors, punch out circles in various sizes.
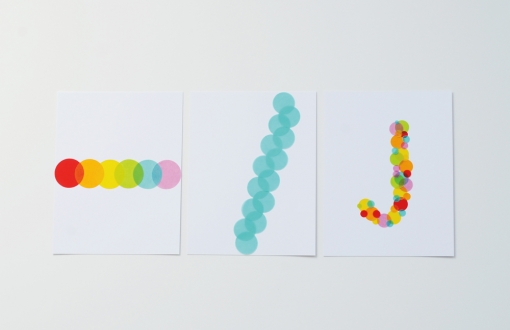
3. Glue vellum circles onto white A2 card. You can create patterns or letters out of the vellum circles.
Gloria Kim is Hyphen’s Takeout editor.


Comments